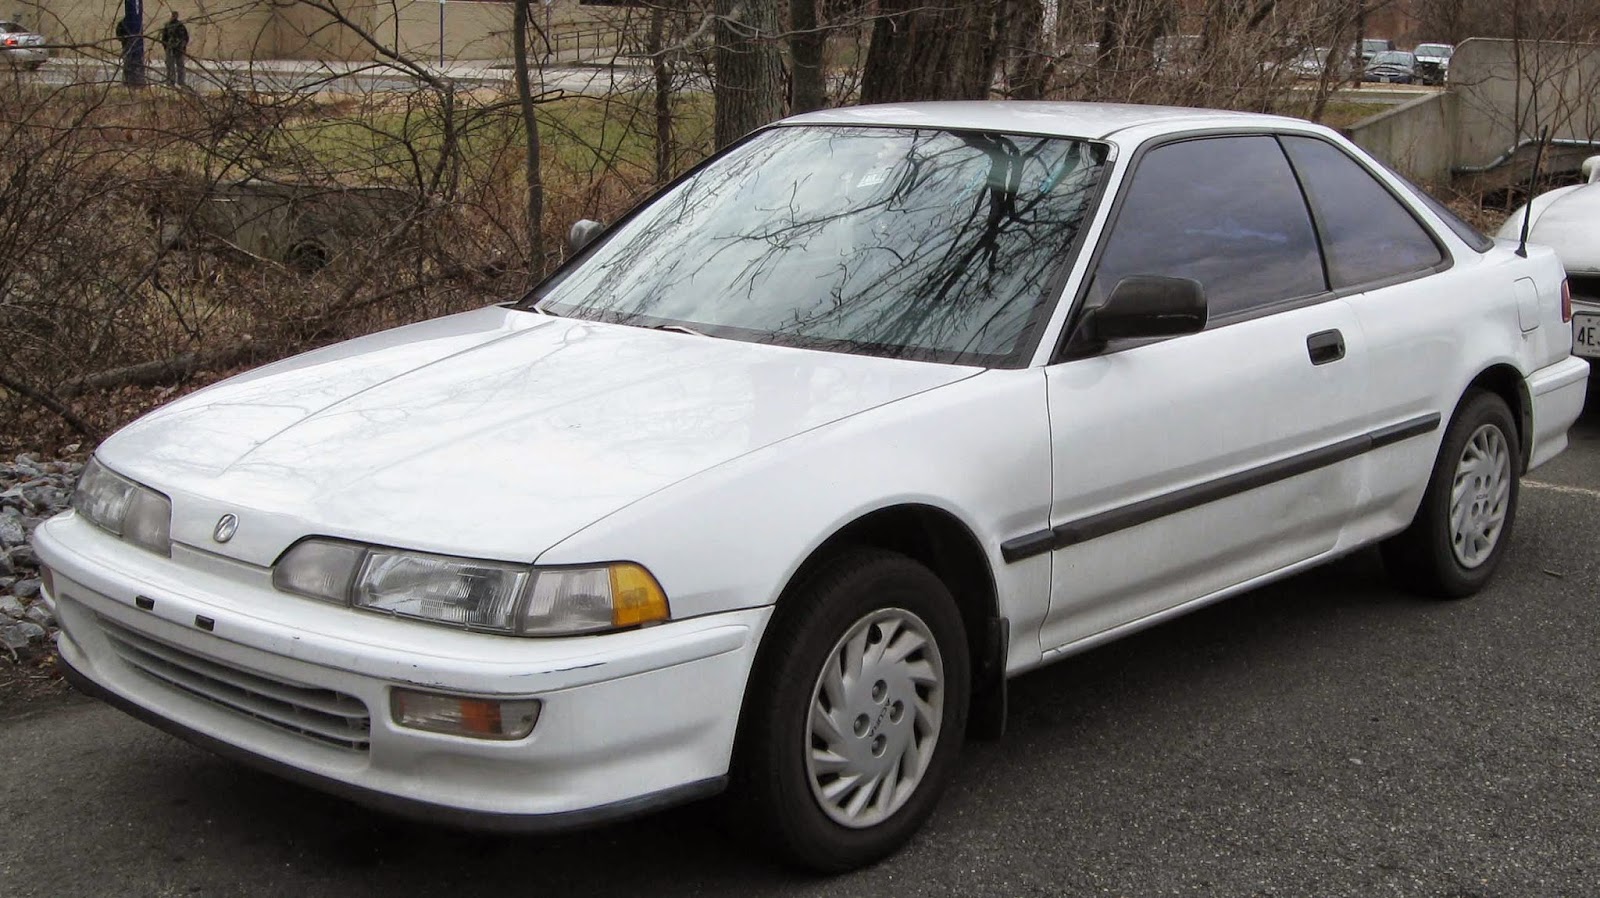
1990-1993 Acura Integra Radio Replacement - Remove Factory Radio NOTE : To remove the Honda factory radio, (2) two screws at the rear of the radio must be removed from underneath the radio which can be accessed from behind the radio. The Honda radio is secured to the pocket below the radio and will pull out of the dash connected together as one unit. STEP 1 : Move to the passenger side of the vehicle. The screws that secure the radio/pocket assembly to the dash are at the rear of the radio.
The only way to access these screws is to look up at the rear of the radio from the passenger side of the vehicle. With an 8mm socket or phillips screw, locate and remove the screws as can be seen in the photos shown in the NOTE to the left. STEP 2 : Once the screws at the rear of the radio/ pocket assembly have been removed, the radio can be pulled forward out of the dash. Remove Factory Radio STEP 3 : Pull the radio out of the dash. Unplug the black cable plugged into the rear of the radio. Unplug the white plastic wire harness connector plugged into the rear of the radio. Completing The Radio Installation Move to: Wire New Radio Section Wiring The New Radio STEP 1 : Insert the radio installation kit into the dash until it snaps and secures to the dash. TIP: mount the kit to the opening in the dash BEFORE mounting the radio to the kit.
Mounting the radio to the kit before snapping the kit into the dash may prevent the kit from properly snapping into the dash. This step is shown in more detail in the “Mount New Radio” section. STEP 2 : Insert the new radio into the dash. Plug the black antenna cable into the rear of the new radio. Make sure all wire connections for the new radio have been completed and plug in any connectors for the new radio now. Slide the new radio into the radios mounting “cage” or mounting “sleeve”. The Installation Is Now Complete.


 23.28
23.28
 Unknown


 Posted in:


0 komentar:
Posting Komentar