Tampilkan postingan dengan label Buick. Tampilkan semua postingan

Sabtu, 02 Mei 2015

2008-2009 Buick LaCrosse BX1514 Installation Instructions

http://carmarzus.blogspot.com/
2008-2009 Buick LaCrosse BX1514 Installation Instructions -  Due to the design of the removable tabs, the RangeFinderII tow bar can not be used. Adapters, except the BX8833 and BX88151, can not be used with this baseplate. Installation Instructions: 1. Remove two push pins from the top of the plastic cover. Set cover and push pins aside to be reinstalled later. 2. Remove four push pins from the top of the fascia. Set push pins aside to be reinstalled later.

3. Remove the push pin from between the headlights. Do this to both sides of the vehicle. Set push pins aside to be reinstalled later. 4. Using the 7mm socket, remove two metric bolts from just inside wheel well in front of the tire on the edge of the fascia. Do this to both sides of the vehicle. Set bolts aside to be reinstalled later. 5. Using the 7mm socket, remove two metric bolts from underside of fascia, just forward of front tire. Do this to both sides of the vehicle. Set bolts aside to be reinstalled later. 6. Remove three push pins from bottom corner of fascia. Do this to both sides of the vehicle. Set push pins aside to be reinstalled later. 7. Just forward of the front tire push the wheel well cover aside, using the 10mm socket, loosen two metric bolts. Do this to both sides of the vehicle. Pull fascia forward to remove. Set bolts and fascia aside carefully to be reinstalled later. 8. Using the 10mm socket, remove three metric bolts from across the bottom of the belly pan underneath the bumper. Set bolts aside to be reinstalled later. 9. Remove two push pins from the belly pan extensions one on each side. Set push pins aside to be reinstalled later.

10. Just forward of the front tire, on the wheel well using the 7mm socket, remove two bolts. Pull forward on the center extension to remove the belly pan. Set belly pan and bolts aside to be reinstalled later. 11. On the passenger side, using the 10mm socket, remove one metric bolt from the horn bracket. Set the horn and bolt aside to be reinstalled later. 12. Using the reciprocating saw, mark and cut the bottom of the bumper bracket so that it is fl ush with the bottom of the frame rail. Do this to both sides of the vehicle.

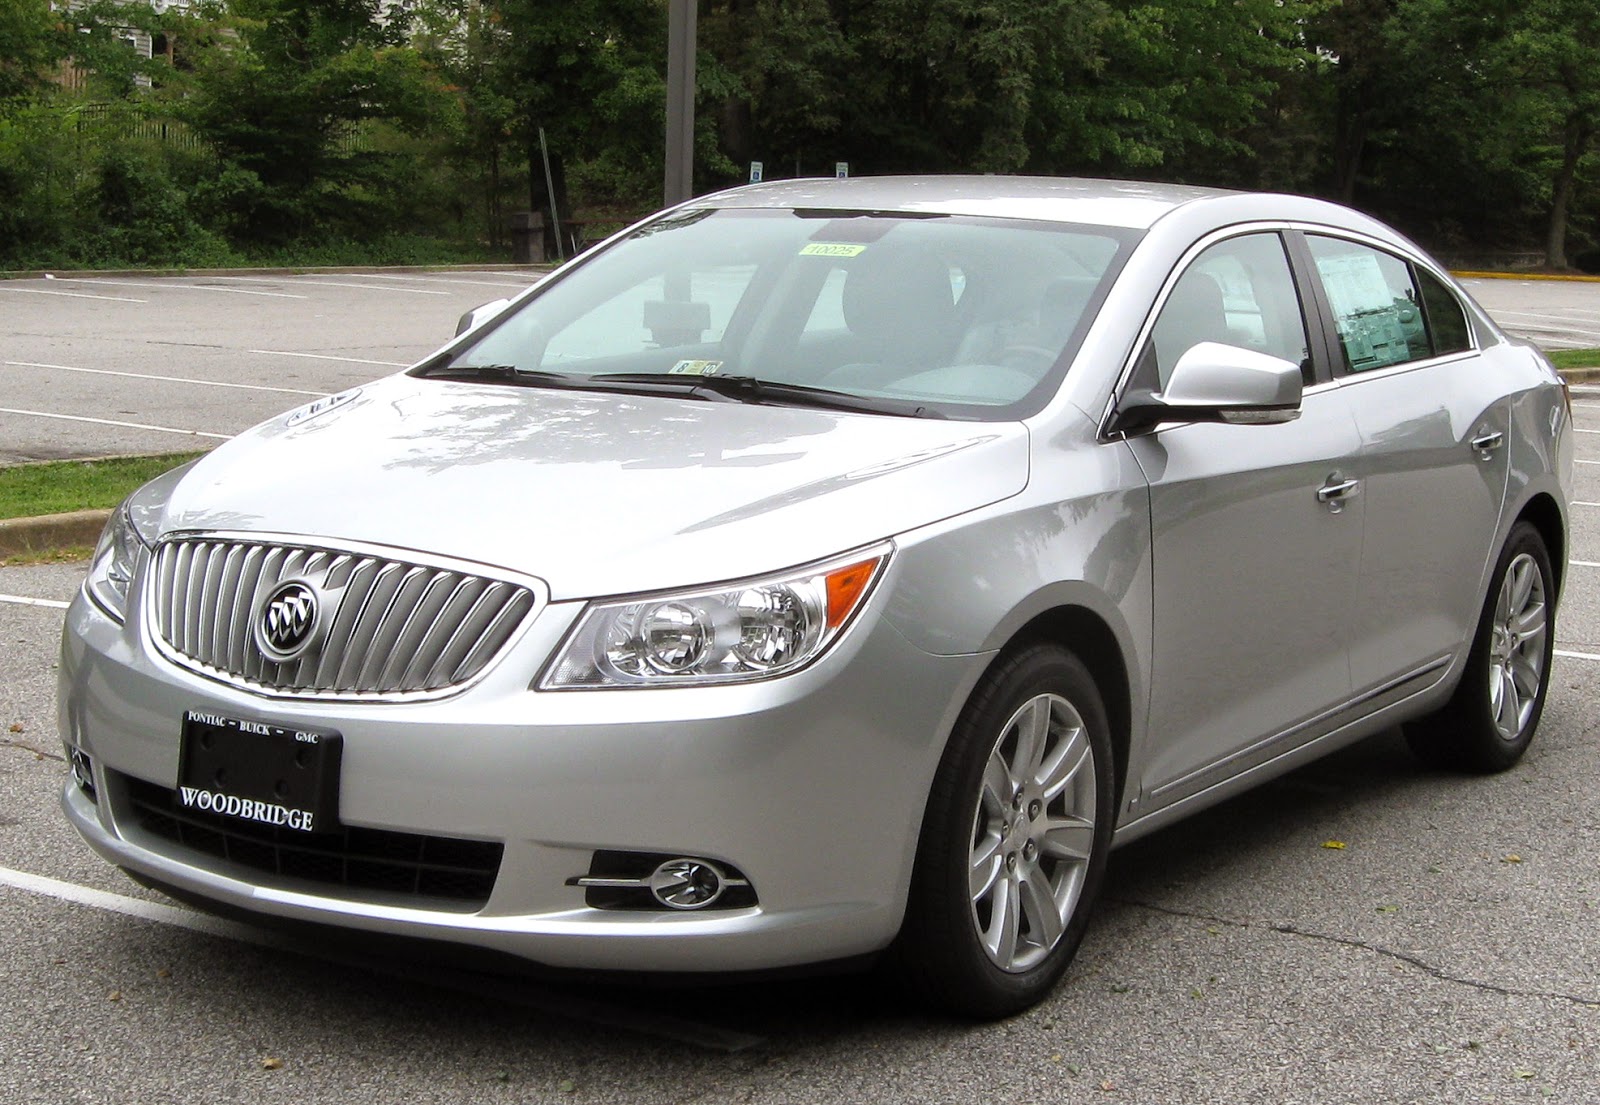
Download : 2008-2009 Buick LaCrosse BX1514 Installation Instructions

Kamis, 23 April 2015

2000 Buick Regal Oil Pan Replacement

http://carmarzus.blogspot.com/
2000 Buick Regal Oil Pan Replacement - Tools Required z J 28467-90A Engine Support Adapters z J 28467-B Universal Engine Support Fixture z J 36462-A Engine Support Adapter Leg Set 1. Disconnect the battery ground (negative) cable. Refer to Battery Negative Cable Disconnect/Connect Procedure in Engine Electrical. 2. Carefully disconnect the throttle body air inlet duct. 3. Remove the engine mount struts from the engine.

Refer to Engine Mount Strut Replacement . 4. Remove the drive belt. Refer to Drive Belt Replacement . 5. Install the J 28467-90A , the J 28467-B and the J 36462-A . Do not raise the engine. Refer to Engine Support Fixture . 6. Raise and suitably support the vehicle. Refer to Lifting and Jacking the Vehicle in General Information. 7. Disconnect the three-way catalytic converter pipe from the right exhaust manifold. Refer to Catalytic Converter Replacement in Engine Exhaust. 8. Remove the right front tire and wheel. Refer to Tire and Wheel Removal and Installation in Tires and Wheels. 9. Remove the right engine splash shield. Refer to Splash Shield Replacement – Engine in Body Front End.

10. Drain the engine oil. Refer to Engine Oil and Oil Filter Replacement. 11. Remove the oil filter. Refer to Engine Oil and Oil Filter Replacement. 12. Remove the AC compressor bracket bolts. Reposition and secure the AC compressor. 13. Disconnect the power steering oil cooler pipe brackets from the frame. 14. Remove the engine mount bracket bolts from the engine. Refer to Engine Mount and Bracket Replacement . 15. Remove the lower engine mount nuts. Refer to Engine Mount and Bracket Replacement . 16. Remove the torque converter cover. Refer to Torque Converter Cover Replacement in Automatic Transaxle – 4T65-E. 17. Disconnect the oil level sensor wiring harness connector. 18. Remove the oil level sensor. 19. Lower the vehicle. 20. Use the J 28467-B in order to raise the engine for access. 21. Raise and suitably support the vehicle. Refer to Lifting and Jacking the Vehicle in General Information. 22. Suitably support the frame. Loosen the left side frame bolts. Remove the right side frame bolts. Lower the frame for access. Refer to Frame Removal in Frame and Underbody. 23. Remove the engine mount and the engine mount bracket. 24. Remove the oil pan retaining bolts. 25. Remove the oil pan. 26. Remove the oil pump pipe and screen assembly and the oil pan gasket. 27. Clean the following parts: { The oil pan flanges { The oil pan rail { The front cover { The rear main bearing cap { The threaded holes Installation Procedure 1. Install the oil pan gasket and the oil pump pipe and screen assembly.

Tighten Tighten the oil pump pipe and screen bolts to 15 N·m (11 lb ft). 2. Install the oil pan. 3. Clean the oil pan bolts and apply one drop of thread lock compound GM P/N 12345382 or equivalent to the oil pan bolt threads. Important Do not overtighten bolts or damage to the oil pan may occur, resulting in an oil leak. 4. Install the oil pan bolts. Tighten Tighten the oil pan bolts to 14 N·m (125 lb in). 5. Place the engine mount bracket and the engine mount to the proper position. Install the engine mount bracket bolts to the engine. Refer to Engine Mount and Bracket Replacement . 6. Install new right side frame bolts. Make sure the frame is suitably supported. Install new left side frame bolts. Refer to Frame Removal in Frame and Underbody.
Download : 2000 Buick Regal Oil Pan Replacement

2006-2007 Buick Lucerne BX1512 Installation Instructions

2006-2007 Buick Lucerne BX1512 Installation Instructions - Attachment Tabs: Due to the design of the removable tabs, the RangeFinderII and Ambassador tow bars can not be used. Adapters, except the BX8833 and BX88151, can not be used with this baseplate. Installation Instructions: 1. Remove four pushpins from the radiator cover and lift to remove. Do this to both sides of the vehicle. Set pushpins and radiator cover aside to be reinstalled later. 2. Remove three pushpins from the top of the fascia. Do this to both sides of the vehicle.

Set pushpins aside to be reinstalled later. 3. Remove five pushpins just forward of the front tire, on the edge of fascia. Do this to both sides of the vehicle. Set pushpins aside to be reinstalled later. 4. Pull wheel well cover aside and remove two metric bolts from back side of fascia using the 10mm socket. Do this to both sides of the vehicle. Set bolts aside to be reinstalled later. 5. Remove four pushpins from the bottom corner of fascia. Do this to both sides of the vehicle. Set pushpins aside to be reinstalled later. 6. Remove two pushpins from the bottom center of fascia. Pull fascia forward to remove. Set pushpins and fascia aside to be reinstalled later. 7. Remove five pushpins from the belly pan.

Set pushpins and belly pan aside to be reinstalled later. 8. Under hood latch area (see inset), disconnect two electrical connections and move out of the way. Using the 13mm socket, remove four metric bolts from the metal bumper. Do this to both sides of the vehicle. Set bolts aside to be reinstalled later. 9. Remove one pushpin fastening the lower section of air dam to the top of the metal bumper. Do this to both sides of the vehicle. Pull metal bumper forward to remove.

Set pushpins and metal bumper aside to be reinstalled later. 10. Mark a rectangle on the lower portion of bumper bracket. Start horizontally below the upper portion of bumper bracket (see white arrow) and continue just beyond the lower bolt hole. Then, mark straight down until reaching bottom of frame rail. This vertical marking should be flush with frame rail edge (behind bumper bracket). Using the reciprocating saw, cut marked area through the bumper bracket and frame rail.
Download :  2006-2007 Buick Lucerne BX1512 Installation Instructions

Popular Posts

Twitter Facebook More

 
Design by Free WordPress Themes | Bloggerized by Lasantha - Premium Blogger Themes | Affiliate Network Reviews