Acura Integra Header Installation Instructions - Parts List: 1 – Stainless Steel Header 1 – Oxygen Sensor Plug (for cars with oxygen sensor in catalytic converter) • Remove existing exhaust manifold and “A” pipe: Remove manifold, “A” pipe, and heat shields per factory
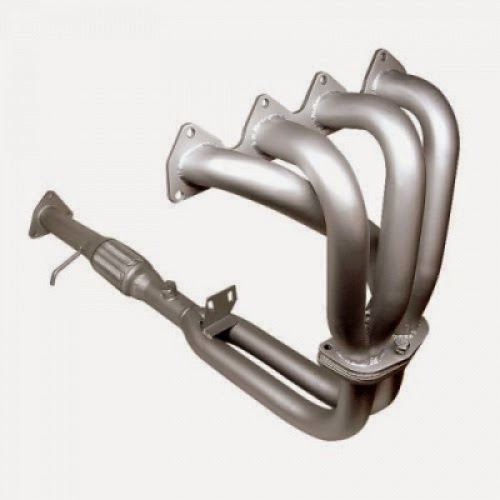
service manual removal procedures. • Loosen bracket: Loosen the bracket indicated in the
diagram to the right. This will
allow easier alignment of the header to this bracket. •
Install oxygen sensor: Install oxygen sensor into bung on collec- tor. Note: Some cars will have the oxygen sensor in the catalytic converter. In this case, install the supplied plug into the fitting on the header collector. • Install Comptech Header: Install header from bottom of car, line up all connections, and start all nut and bolt fasteners before final tightening to factory
specifications. (torque header to cylinder head bolts/nuts to 23 lbs/ft) see diagram at right for other torque specs. • Wipe down header: Use a good solvent to remove any oil or contaminants on the header before starting
engine. This will insure even discoloration (typical of stainless steel) of the header as it heats up. • Start engine: Start the engine and
check for any exhaust leaks. After a few days of driving the car, recheck all con- nections for tightness.
Download : Acura Integra Header Installation Instructions
 23.58
23.58
 Unknown

 Posted in: Acura


0 komentar:
Posting Komentar